***************************************************************
I'm pretty sure you have all heard of Bernie Berlin's Atc workshop - that book is a pure joy to read, lots of eye candy to salivate over too. This week, I am revisiting a favourite technique taken from the said book - Paint on Paper towel. Not such an exciting name now, but this is a really fun and random way of building colour, shimmer and texture into your project whether it be postcards, chunky pages, atcs's, rolo's - whatever!
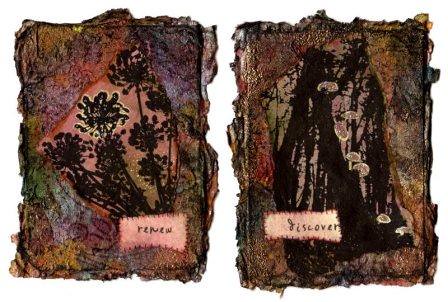
Here's a couple of atc's I've made using the said technique....
 ******************************************************************
You will need,
- paper Towel/Kitchen Roll - any & all types is great
- Pearlescent Paints - lumiere is great
- Gel Medium
- Wet Glue - Elmers Glue-all is tidy stuff
- Babywipes
- atc/rolo/chunky blanks
- To begin, pull out a couple of sheets of paper towel, I didn't have the rough grainy stuff 'a la Bernie' so I used my 'oh so fancy' two ply with circular dots. {...dots are circles Tanya}
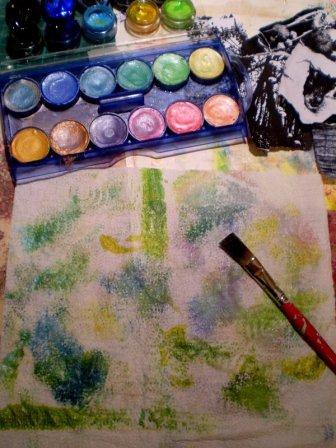
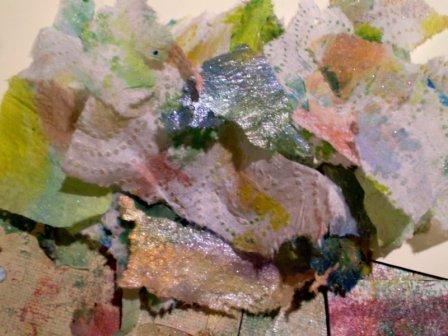
- Now apply your pearly paint using a dampened brush, if its too wet it'll break down the texture in your paper. I alternate from warm to cool shades, lay the colours over each other and they really start to sing. When covered, let them dry for a bit - a heat gun or radiator comes in handy. Once dry, rip these up into nice chunks of shimmery goodness.You'll probably find that 'oh so fancy' comes apart in two sheets. Not to worry - you can use both! They are equally delicious in their own way.
- Now take out your atc blanks. I place a nice fat blob of glue in the lower corner so its handy {& quick} to brush on. Start to layer the towel pieces on the card in a haphazard fashion, gluing each bit as you go.
- Oh look, completed blanks. But look at all those raggedy bits! Feel the love for raggedy, raggedy is good. If that rough look dosen't float your boat then simply snip them off. Its all up to you and what style you are going for.


Some Variations;
- Overstamp with a darker dye ink
- Sponge on pigment inks
- Versamark and emboss the edges
- overlay with an acetate image
- whatever else you have in mind :)*

11 comments:
Thanks for such a great post!!!
Love your art:)
Ohmegod thank you so much Bernie!
Well Done Tanya, I love that book too!!! I will try this kitchen roll technique now, on luxury 3 ply of course!!!!!!!!!
well yours are just awesome. i've tried this, but the results were horrible!
shine on :)
Aw noo Cathy - are you serious? Give it a day or two and you might learn to love it :)*
Gezza I'm waiting to hear about your experiment - I hope you had fun!
such stunning results, mine were a washout.
i sooo love your bubbly personality, and it shines through your work
oh i must say, the word verification was a ruuuuude word. lol, roflol.
Great post Tanya. I 'acquired' some lovely green paper towels from a pub somewhere in Ireland to do something just like this with them. I used to do a bit of ceramics back in the day and I would slap the glaze all over the paper towels, then make swirly marks in it with the wrong end of a paint brush then print it onto the ceramic piece. Worked especially well on tiles. Hooray for paper towels!
Your little cards are really fabulous! I love this book also!
great tute thanx
I like this very much! I'll definitely try....thank you!
Post a Comment